
Quick & Accurate Cutouts
What is the Select and Mask Workspace?
There is certainly no shortage of tools for cutting things out of a photo in Photoshop. But the best tools are often the ones that make the job quick and easy while still providing a clean, professional result.
Select and Mask is a workspace designed to help you get the most out of automated selection tools, allowing you to make an initial rough selection, and then refine that selection until you’re happy with the end product.

Let’s explore how Select and Mask can help us make clean and accurate cutouts—even when working with a person in front of a bust background!
Getting Started with Select and Mask
You’ll find the Select and Mask option within the Select menu at the top of the screen.

If you’re following along, make sure that you’re using the latest version of Photoshop as we’ll be exploring some of the newer tools and features.

Once you click on Select and Mask, the Select and Mask workspace will open. This dialog provides a wide variety of tools and options that are designed to help you quickly select something in a photo, and then refine that selection so that it’s clean and accurate.

To begin, we’ll need a way to make a rough selection of the subject in the image. Fortunately, the Select and Mask dialog offers just that.
Click on the Select Subject button at the top of the panel.

This will use Photoshop’s AI technology to try and identify the subject and remove the background—all in a single click!

But we’re far from done. Notice that, when you zoom in, there are some obvious areas that Select Subject had trouble with.

Here’s a list of the available tools:
- Quick Selection Tool
- Refine Edge Brush Tool
- Brush Tool
- Object Selection Tool
- Lasso Tool
- Polygonal Lasso Tool
- Hand Tool
- Zoom Tool
Since our goal is still to work quickly, let’s start with the Quick Selection Tool.

This tool works very simply. Just paint over an area to either add or remove it from the selection. You can use the + and – buttons in the top toolbar to toggle between adding elements and subtracting elements.

For example, if we want to remove that problem area we looked at earlier, we can use the Quick Selection Tool, with the – option toggled, to simply paint over it.

Don’t forget that you can use that Transparency slider to make it easier to see what you’re removing!

Scan around the image and see what other areas the Quick Selection Tool can help clean up. Try using it in any gaps in the subject’s hair where the original background is still visible.

u might also discover that Select Subject also removed parts of the subject. For example, it missed a couple of the subject’s fingers.
To fix this, just hit the + icon within the Quick Selection Tool toolbar, and paint over the fingers.
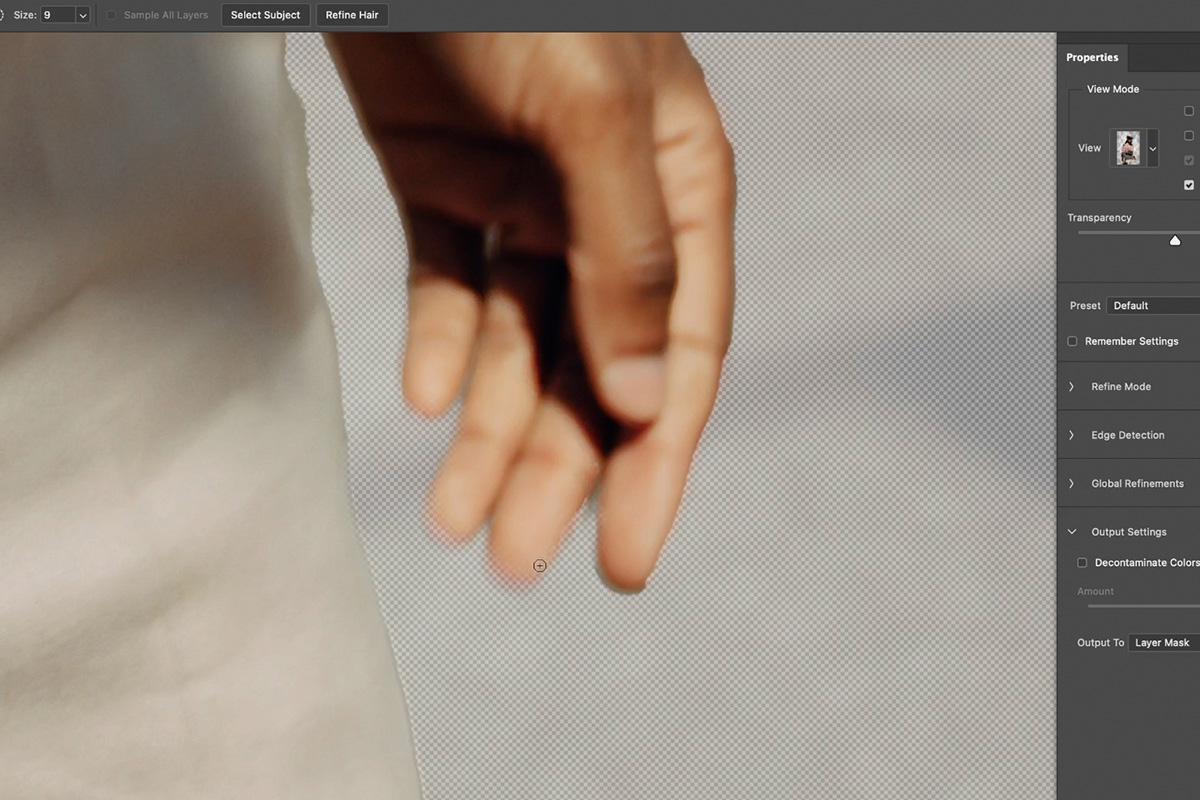
It might take a couple of passes, but this should allow you to restore any areas that you don’t want to be cut off.